Skip to content
Free worldwide shipping
Log in
Got a question? Call us!
(800) 888-888
Home
Shop
Shop
(75)
Default sorting
Sort by popularity
Sort by average rating
Sort by latest
Sort by price: low to high
Sort by price: high to low
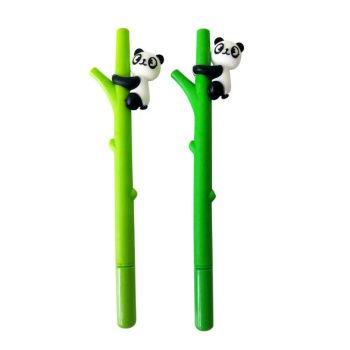
1 Piece Korean Stationery Cute Cartoon Advertising Gel Pen School Fashion Office Kawaii Supply Panda Bamboo Animals
Rated
4.5
out of 5
$
0.41
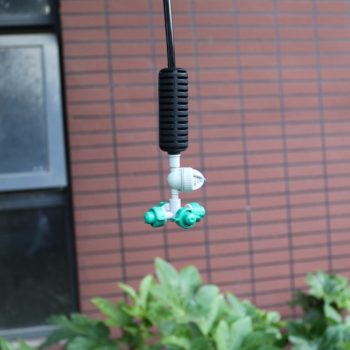
10 Sets Fogger Cross Misting Hanging Sprinkler Kits mist water sprayer For Garden Greenhouse Irrigation 1/4” hose Accessories
Rated
4.83
out of 5 based on
6
customer ratings
(6)
$
17.99
4.83
6
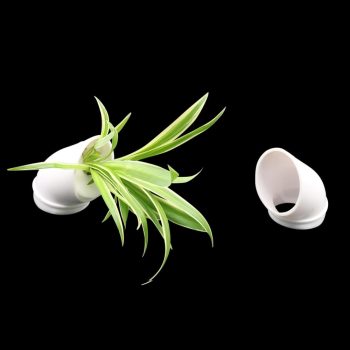
100 pcs DIY Hydroponic colonization cups Flower Container Plant Grow Pot Cup Hydroponics Vertical Tower Plant Pots accessories
Rated
5.00
out of 5 based on
3
customer ratings
(3)
$
38.43
–
$
40.60
Price range: $38.43 through $40.60
5.00
3
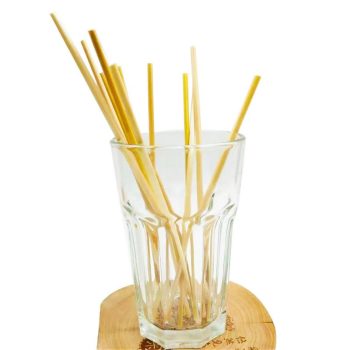
100pcs Natural Wheat Straw Biodegradable Eco Friendly Drinking Accessories
Rated
4.5
out of 5
$
2.09
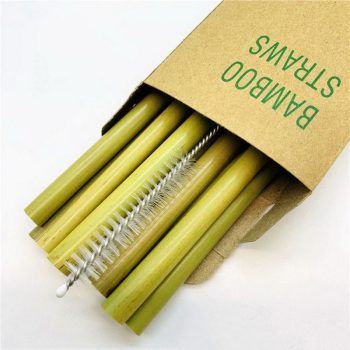
12pcs Eco-Friendly Bamboo Straw Coffee Milktea Kitchen Green Drinkware
Rated
4.5
out of 5
$
3.19
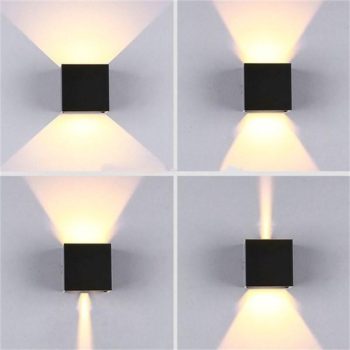
12W LED Wall Light Outdoor Waterproof IP65 Porch Garden Wall Lamp Sconce Balcony Terrace Decoration Lighting Lamp
Rated
4.96
out of 5 based on
70
customer ratings
(70)
$
17.43
–
$
20.13
Price range: $17.43 through $20.13
4.96
70
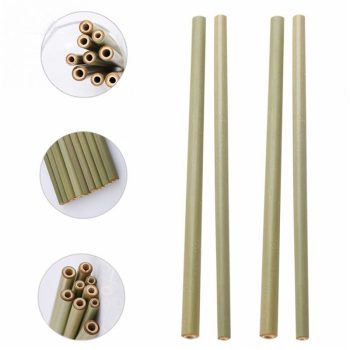
15pack Bamboo Straw Reusable Drinking Straws For Party Birthday Wedding Bar
Rated
4.5
out of 5
$
2.53
–
$
2.75
Price range: $2.53 through $2.75
1cmx1m Luminous Fluorescent Night Self-adhesive Glow In Dark Sticker Tape Neon Ribbon Safety Home Decoration Warning Tape
Rated
4.5
out of 5
$
2.70
–
$
3.48
Price range: $2.70 through $3.48
1M/3M/5M Nano Magic Tape Double Sided Tape Transparent NoTrace Reusable Waterproof Adhesive Tape Cleanable Home
Rated
4.5
out of 5
$
2.17
–
$
4.28
Price range: $2.17 through $4.28
1Pair No Tie Shoelaces Round Elastic Shoe Laces For Kids And Adult Sneakers Shoelace Quick Lazy Laces 21 Color Shoestrings
Rated
4.5
out of 5
$
0.90
–
$
1.17
Price range: $0.90 through $1.17
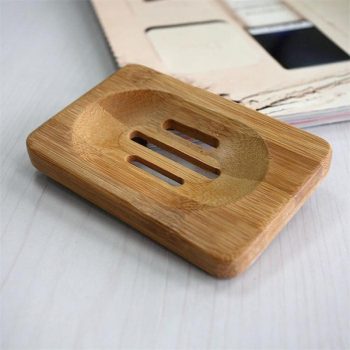
1pc Eco-friendly Natural Bamboo Wood Soap Tray Bathroom Shower Soap Tray Dish Storage Stand Soap Holder Bathroom Products
Rated
4.5
out of 5
$
1.78
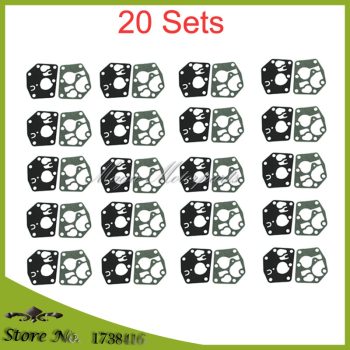
20 Sets Carburetor Diaphragm Gasket Kits For Briggs & Stratton 495770 795083 5083H 5083K 7721 520175
Rated
4.86
out of 5 based on
7
customer ratings
(7)
$
8.27
4.86
7
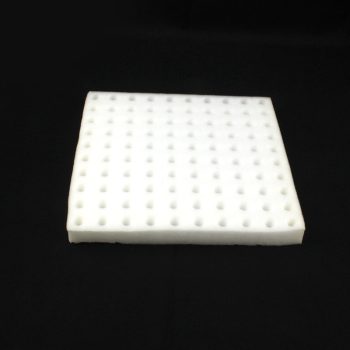
250mm by 250mm Nursery Sponge Gardening Hydroponics Sponge
Rated
5.00
out of 5 based on
4
customer ratings
(4)
$
5.06
–
$
13.42
Price range: $5.06 through $13.42
5.00
4
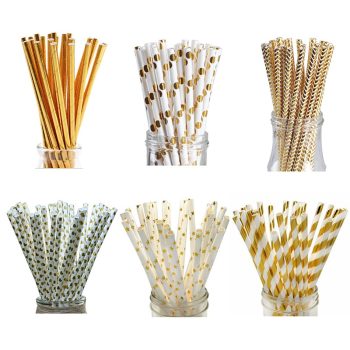
25pcs Foil Gold Drinking Paper Straws Decorative Home Party Supplies Biodegradable
Rated
4.5
out of 5
$
1.13
–
$
1.22
Price range: $1.13 through $1.22
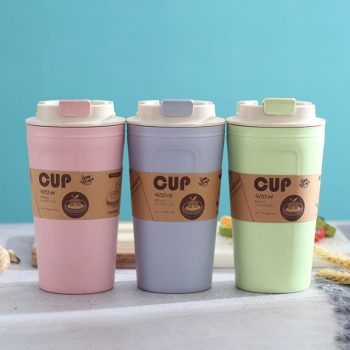
3 Colors Bamboo Fiber Cups Office Travel Leak Proof Coffee Water Bottle
Rated
4.5
out of 5
$
3.42
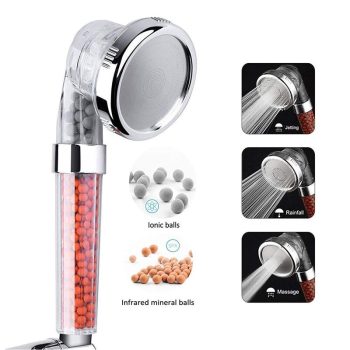
3 Modes Bath Shower Adjustable Jetting Shower Head High Pressure Saving water Bathroom Anion Filter Shower SPA Nozzle
Rated
4.5
out of 5
$
5.38
1
2
3
4
5
Shopping cart
×
No products in the cart.